Installing the command line interface supctl
The Avassa system provides a command line interface supctl.
This instruction defines how to install and configure the command line
interface.
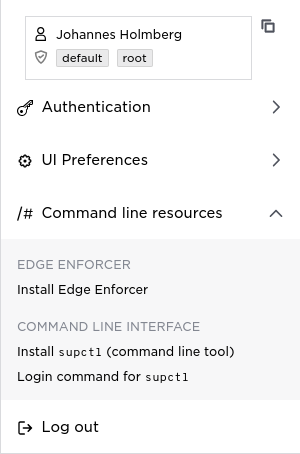
Open the menu top right in Control Tower
Before performing the steps below, cd to a directory where you would like to install the command line tool. You can add that directory to your path.
Select "Install supctl (command line tool)" which will result in the following dialog. (Note, the actual URL and profile name will differ.)
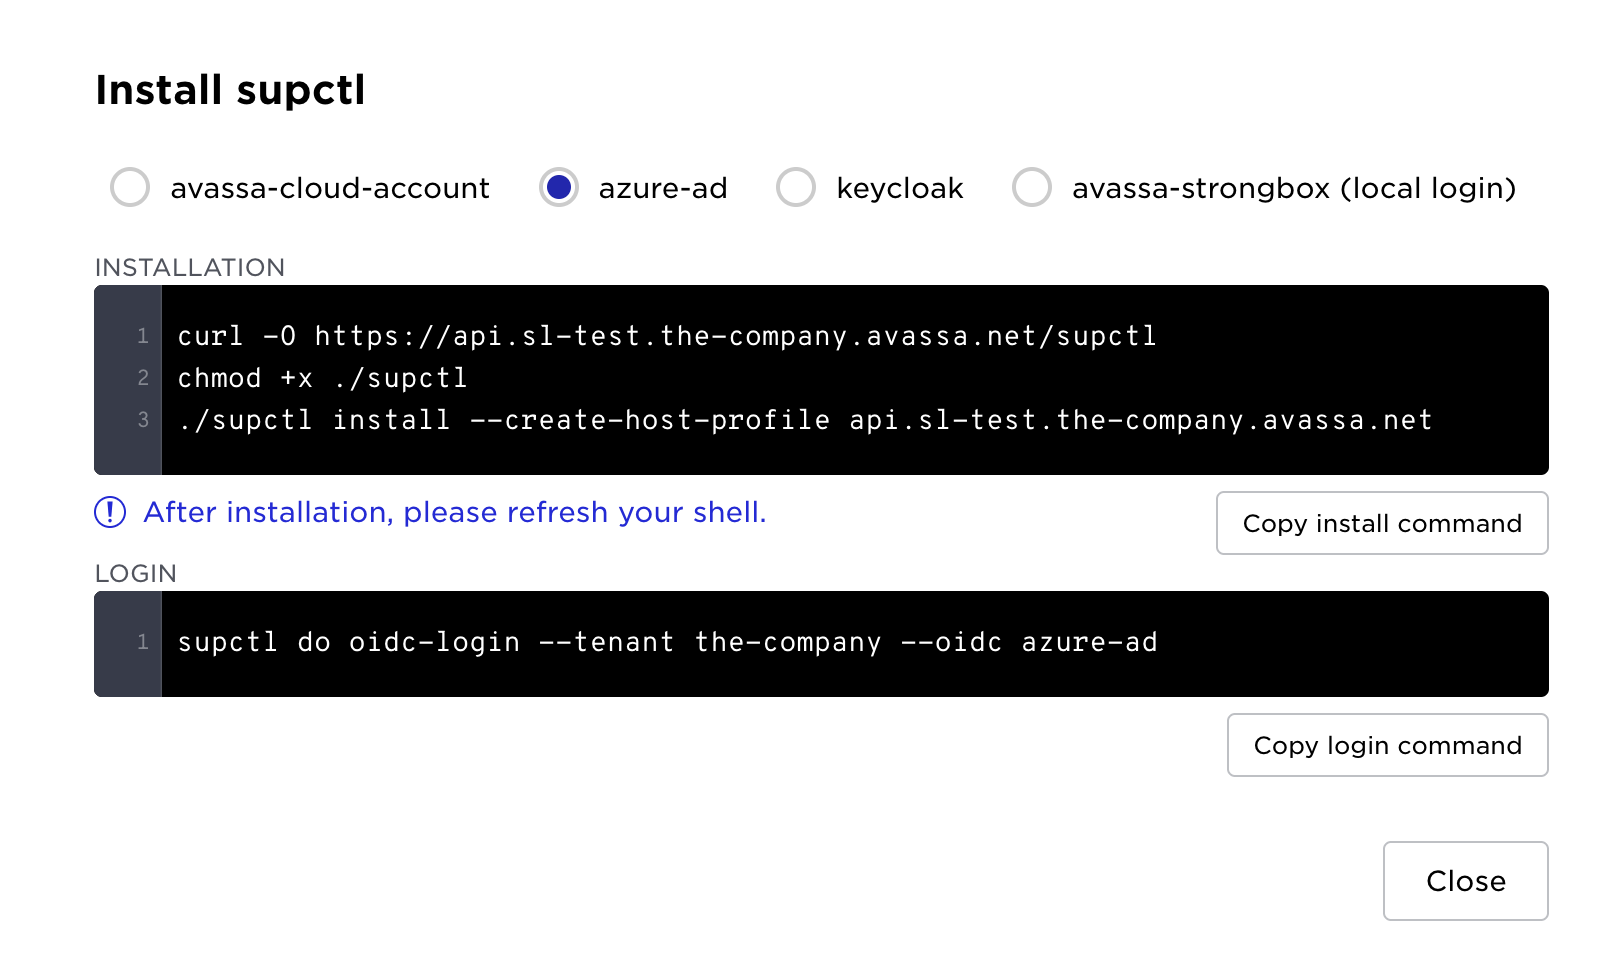
Copy and paste that command sequences into your shell. It performs the following (skip reading if you are not interested, just start using supctl).
- downloads the
supctltool using curl from your environment. If you read the url you recognize your domain and environment name - makes
supctlexecutable - installs supctl in the path, including creating a profile. Profiles are useful for switching between environments and logins
- performs an
oidclogin to control tower
OIDC user refers to the user that was created when you first registered for an Avassa account. That user is authenticated using an OIDC provider. You can also create local users in Control Tower, these are called local users.
A URL will be returned and a web browser will automatically be opened in order to complete the login. If supctl is unable to find a suitable web browser, copy the URL and paste it into your browser manually:
Complete the login via your OIDC provider. If your browser does not open automatically, use the following URL:

https://login.avassa.com/authorize?client_id=JVX9fZLU8fvsRZxuZ3uuGUuh1zPps1Ng&response_type=code&redirect_uri=https%3A%2F%2Fapi.cloud.demo.avassa.net%2Fcontrol-tower%2Foidc-callback&scope=openid+profile&state=YTAxNjRmN2YtYjc0Yi00ZWM2LTk5HGAtMWRkZTgzYjJhNDczOnByb2QudW1jLmF2YXNzYS5kZXY%3D&nonce=86f78035-ce6a-4a70-88f3-7b3d3a0b82f3
Once you have successfully authenticated in the browser you will see the following message in your terminal:
Login successful
At this point, you are authenticated and ready to go.
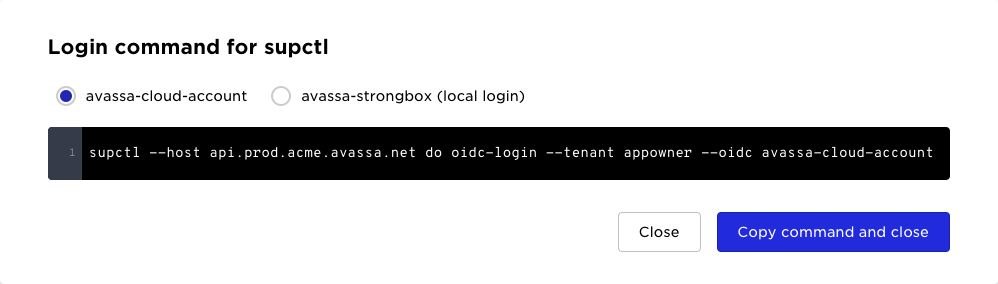
If you later would like to login as another user or to another Control Tower, you can get guidance by picking the Login command for supctl menu item:
Dependencies
Running supctl is supported on the following operating systems:
- Linux
- macOS
In addition to that most of the functionality is expected to work under WSL on Windows.
You need Python 3 installed to run supctl. The minimum supported version is Python 3.11, although most of the functionality works in older versions of Python too.
In most cases Python is already installed on your operating system. If it isn't, here are some examples on how you would install it on your operating system:
- Linux (apt)
- Linux (pip)
- macOS (homebrew)
- macOS (macports)
sudo apt install python3
Assuming Python 3 is already installed, you are all set!
sudo brew install python3
sudo port install python3
Completion
If you have installed supctl, the completion is automatically setup.
If you are using bash or zsh, supctl offers tab-completion. To activate tab completion run:
source <(./supctl completion)
To make tab completion permanently available, you can add the above command to one of your startup scripts (eg, $HOME/.bashrc) or, for bash, you can write the script to your local completion directory, typically $HOME/.local/share/bash-completion/completions/:
./supctl completion > $HOME/.local/share/bash-completion/completions/supctl
Note that regardless of which option you choose, it will take effect the next time you start a shell. You need bash version 5+ for tab completion to work (bash --version). Unfortunately the bash installed in macOS is old and does not support tab completion.
If you use zsh, and in case you get an error: command not found: compdef, please add the following to your $HOME/.zshrc:
autoload -Uz compinit
compinit

source <(supctl completion)
Adding supctl to your default PATH
If you have installed supctl, the path is automatically setup.
Instead of always typing ./supctl you can download supctl to a
directory that you add to your path. Assume you downloaded the tool to ~/bin you can then add this to your path:
export PATH=${PATH}:~/bin
Working with profiles
When you need to interact with more than one Control Tower, or want to interact with the same Control Tower using different users, profiles come in handy. A profile stores any current token information and the address of the Control Tower, so once you have logged in with a profile you do not need to provide any additional options to indicate the hostname of the Control Tower etc.
Listing profiles
Use the profile list command. The currently active profile is indicated.
supctl profile list
api.dev.umc.avassa.dev (active)
joe
Switching profiles
supctl profile set joe
The active profile is now joe
Creating a new profile
supctl profile create kim@dev
kim@dev created, it is now the active profile
If there are no profiles configured, one will automatically be created when you connect to a Control Tower. The host name will be used as the profile name.
supctlYou can follow the tutorial on supctl to learn how to use the command line interface to do specific Avassa tasks.