Developing and deploying a Python Application
In this tutorial we will look at all steps needed to crate, build and deploy a Python application to an Avassa system.
For more advanced Python use cases
Developing with Python
Virtual Environments for local development
For these types of projects you can use
Pipenv to keep track of the Python
dependencies. Pipenv creates Python virtual environments and can generate
requirements.txt files, which are great when later building a container
image.
To create a virtual environment for your project, run
pipenv install
This generates a Pipfile with dependencies that looks like:
The Pipfile for this project looks like:
[[source]]
url = "https://pypi.org/simple"
verify_ssl = true
name = "pypi"

[packages]

[dev-packages]

[requires]
python_version = "3"
The use of Pipenv is optional.
Note on target platforms
Note that containers are built for the underlying platform Intel or ARM. You can also build multi-architecture images that contain both. For simplicity in this example we assume that you build your container on the same platform as your edge sites. The virtual demo sites in the Avassa trial electric-cinema and metrograph are Intel based so if you want to use them make sure you run this tutorial on an Intel platform.
Python code
And the main python file we will use for this demo below.
import logging
import os
import time

logger = logging.getLogger(__name__)
logging.basicConfig(level=logging.INFO)

app_version=os.environ.get("VERSION", "unknown version")
logger.info(f"Starting {app_version}")

while True:
    logger.info("I'm still alive...")
    time.sleep(10)
It can be useful to have a parameter that is set during build (VERSION in this example) when
troubleshooting CI/CD pipelines. By setting a build parameter it becomes trivial to verify you're
running the correct version, once deployed.
Docker
Build container image
First, generate the requirements.txt file using pipenv
pipenv requirements > requirements.txt
The Dockerfile is really simple and is pretty much vanilla from the python container on dockerhub.
FROM python:3-alpine

# Optional to be able to feed a version into the application
ARG VERSION
ENV VERSION=${VERSION}

WORKDIR /usr/src/app

COPY requirements.txt ./
RUN pip install --no-cache-dir -r requirements.txt

COPY demo.py .

CMD [ "python", "./demo.py" ]
Publish container image
This assumes you are logged into a registry, in this case we will push to dockerhub
Note that we provide the VERSION argument, both into the docker build but also as a tag.
docker buildx build -t fredrikjanssonse/avassa-app-tutorial:v1.0 --build-arg VERSION=v1.0 --push .
If you get errors on authenticating check your ~/.docker/config.json
[+] Building 12.1s (12/12) FINISHED                                                        docker:default
 => [internal] load build definition from Dockerfile                                                 0.0s
 => => transferring dockerfile: 303B                                                                 0.0s
 => [internal] load metadata for docker.io/library/python:3-alpine                                   0.7s
 => [auth] library/python:pull token for registry-1.docker.io                                        0.0s
 => [internal] load .dockerignore                                                                    0.0s
 => => transferring context: 2B                                                                      0.0s
 => [1/5] FROM docker.io/library/python:3-alpine@sha256:25a82f6f8b720a6a257d58e478a0a5517448006e010  0.0s
 => [internal] load build context                                                                    0.0s
 => => transferring context: 64B                                                                     0.0s
 => CACHED [2/5] WORKDIR /usr/src/app                                                                0.0s
 => CACHED [3/5] COPY requirements.txt ./                                                            0.0s
 => [4/5] RUN pip install --no-cache-dir -r requirements.txt                                         1.7s
 => [5/5] COPY demo.py .                                                                             0.1s
 => exporting to image                                                                               0.1s
 => => exporting layers                                                                              0.1s
 => => writing image sha256:d49a9376507f9ea271f58060b59e179bfa165b3d83d234bb3897758f01ae6a02         0.0s
 => => naming to docker.io/fredrikjanssonse/avassa-app-tutorial:v1.0                                 0.0s
 => pushing fredrikjanssonse/avassa-app-tutorial:v1.0 with docker                                    7.7s
 => => pushing layer 6f07ea4f0b74                                                                    2.9s
 => => pushing layer 8086c9cadf15                                                                    4.1s
 => => pushing layer 7831fdc9a96f                                                                    7.3s
 => => pushing layer b79f77b26250                                                                    7.3s
 => => pushing layer 508dfc87ccb1                                                                    7.3s
 => => pushing layer 4078a022c6e3                                                                    7.3s
 => => pushing layer f5403ef07884                                                                    7.3s
 => => pushing layer 4c9c2b9681ab                                                                    7.3s
 => => pushing layer d4fc045c9e3a                                                                    7.3s
Make sure you change the tag (fredrikjanssonse/avassa-app-tutorial) to match your registry.
Example for Gitlab: registry.gitlab.com/avassa-public/edge-ai/torchserve:v2.0
Testing the built application
docker run --rm --pull=always fredrikjanssonse/avassa-app-tutorial:v1.0
v1.0: Pulling from fredrikjanssonse/avassa-app-tutorial
Digest: sha256:d02f9f1bb6c73798dbbe5de1c0c3e51aa2cca5de3289d5791f1b11308b939192
Status: Image is up to date for fredrikjanssonse/avassa-app-tutorial:v1.0
INFO:__main__:Starting v1.0
INFO:__main__:I'm still alive
^CTraceback (most recent call last):
  File "/usr/src/app/./demo.py", line 14, in <module>
    time.sleep(30)
KeyboardInterrupt
Deploying
Setup supctl or copy and paste in the Control Tower UI.
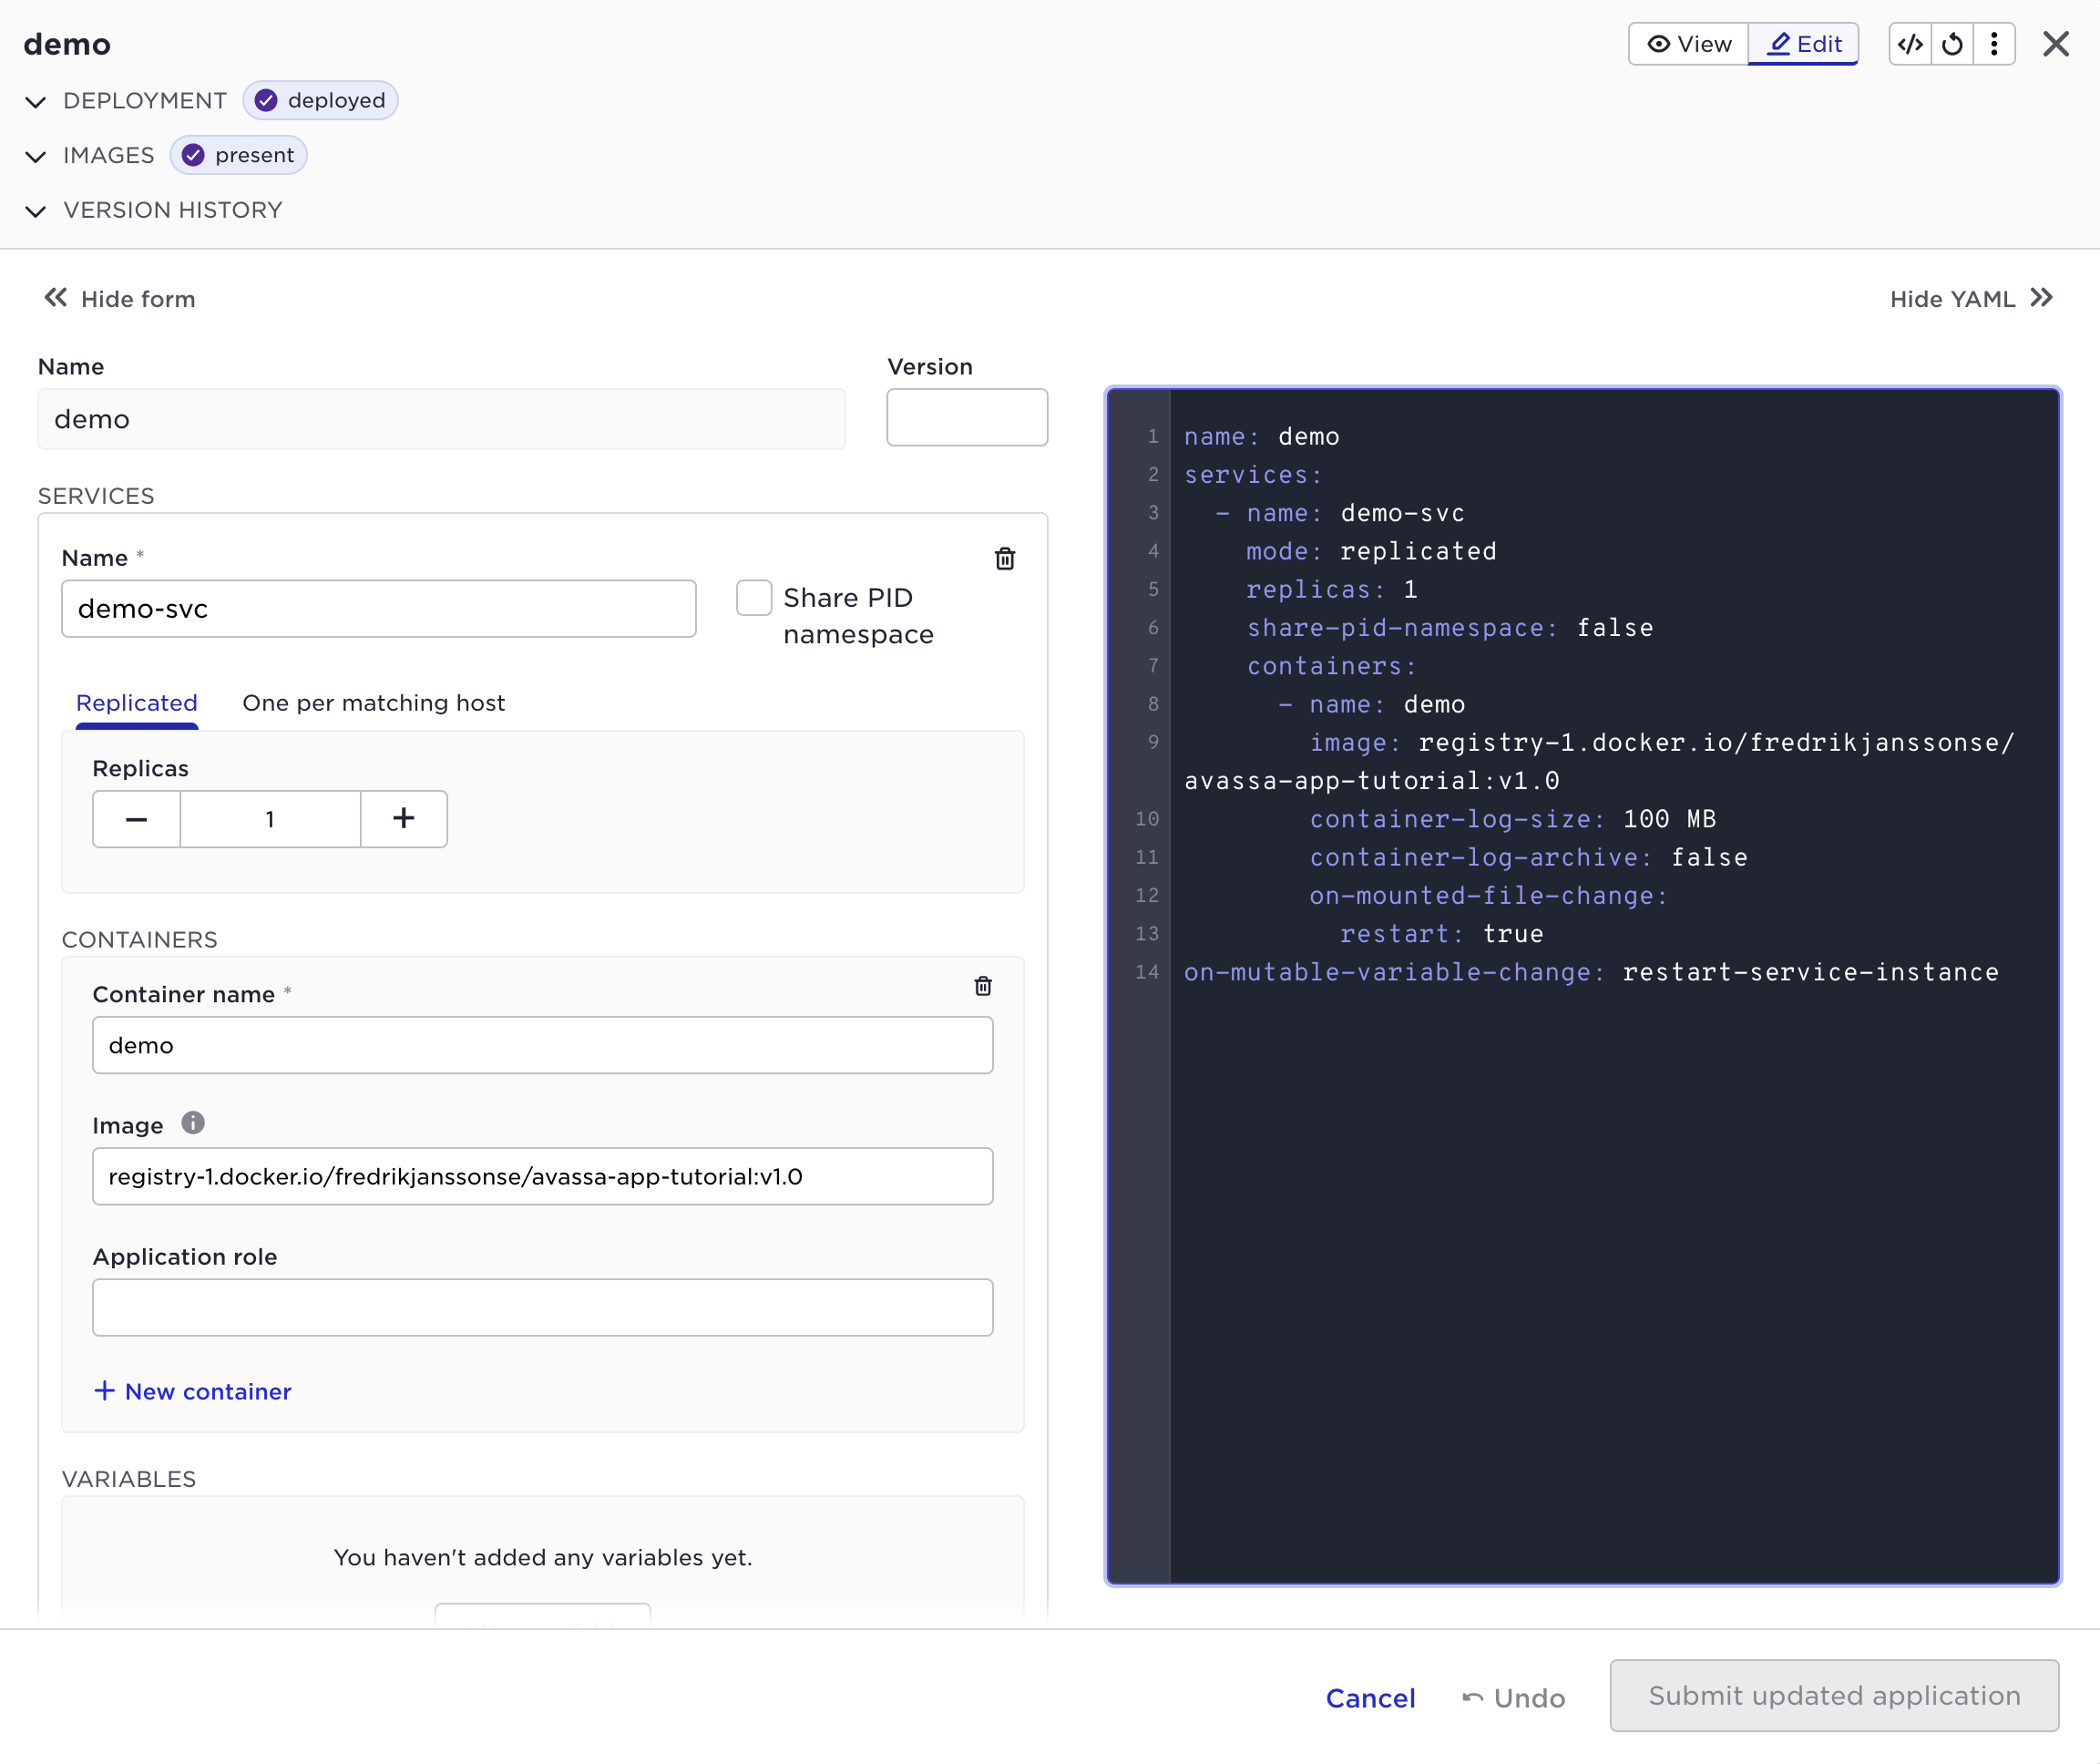
First we create a very simple application specification
name: demo
# During development I keep version commented out
# otherwise I have to change the version every time I test a new app spec.
# Once out of the development phase, I always set a version.
# version: "1.0"
services:
  - name: demo-svc
    mode: replicated
    replicas: 1
    containers:
      - name: demo
        image: registry-1.docker.io/fredrikjanssonse/avassa-app-tutorial:v1.0
Load the application spec
supctl replace applications demo < demo.app.yaml
Load the deployment
name: demo
application: demo
placement:
  all-sites: true
application-version: "*"
supctl replace application-deployments demo < demo.dep.yaml
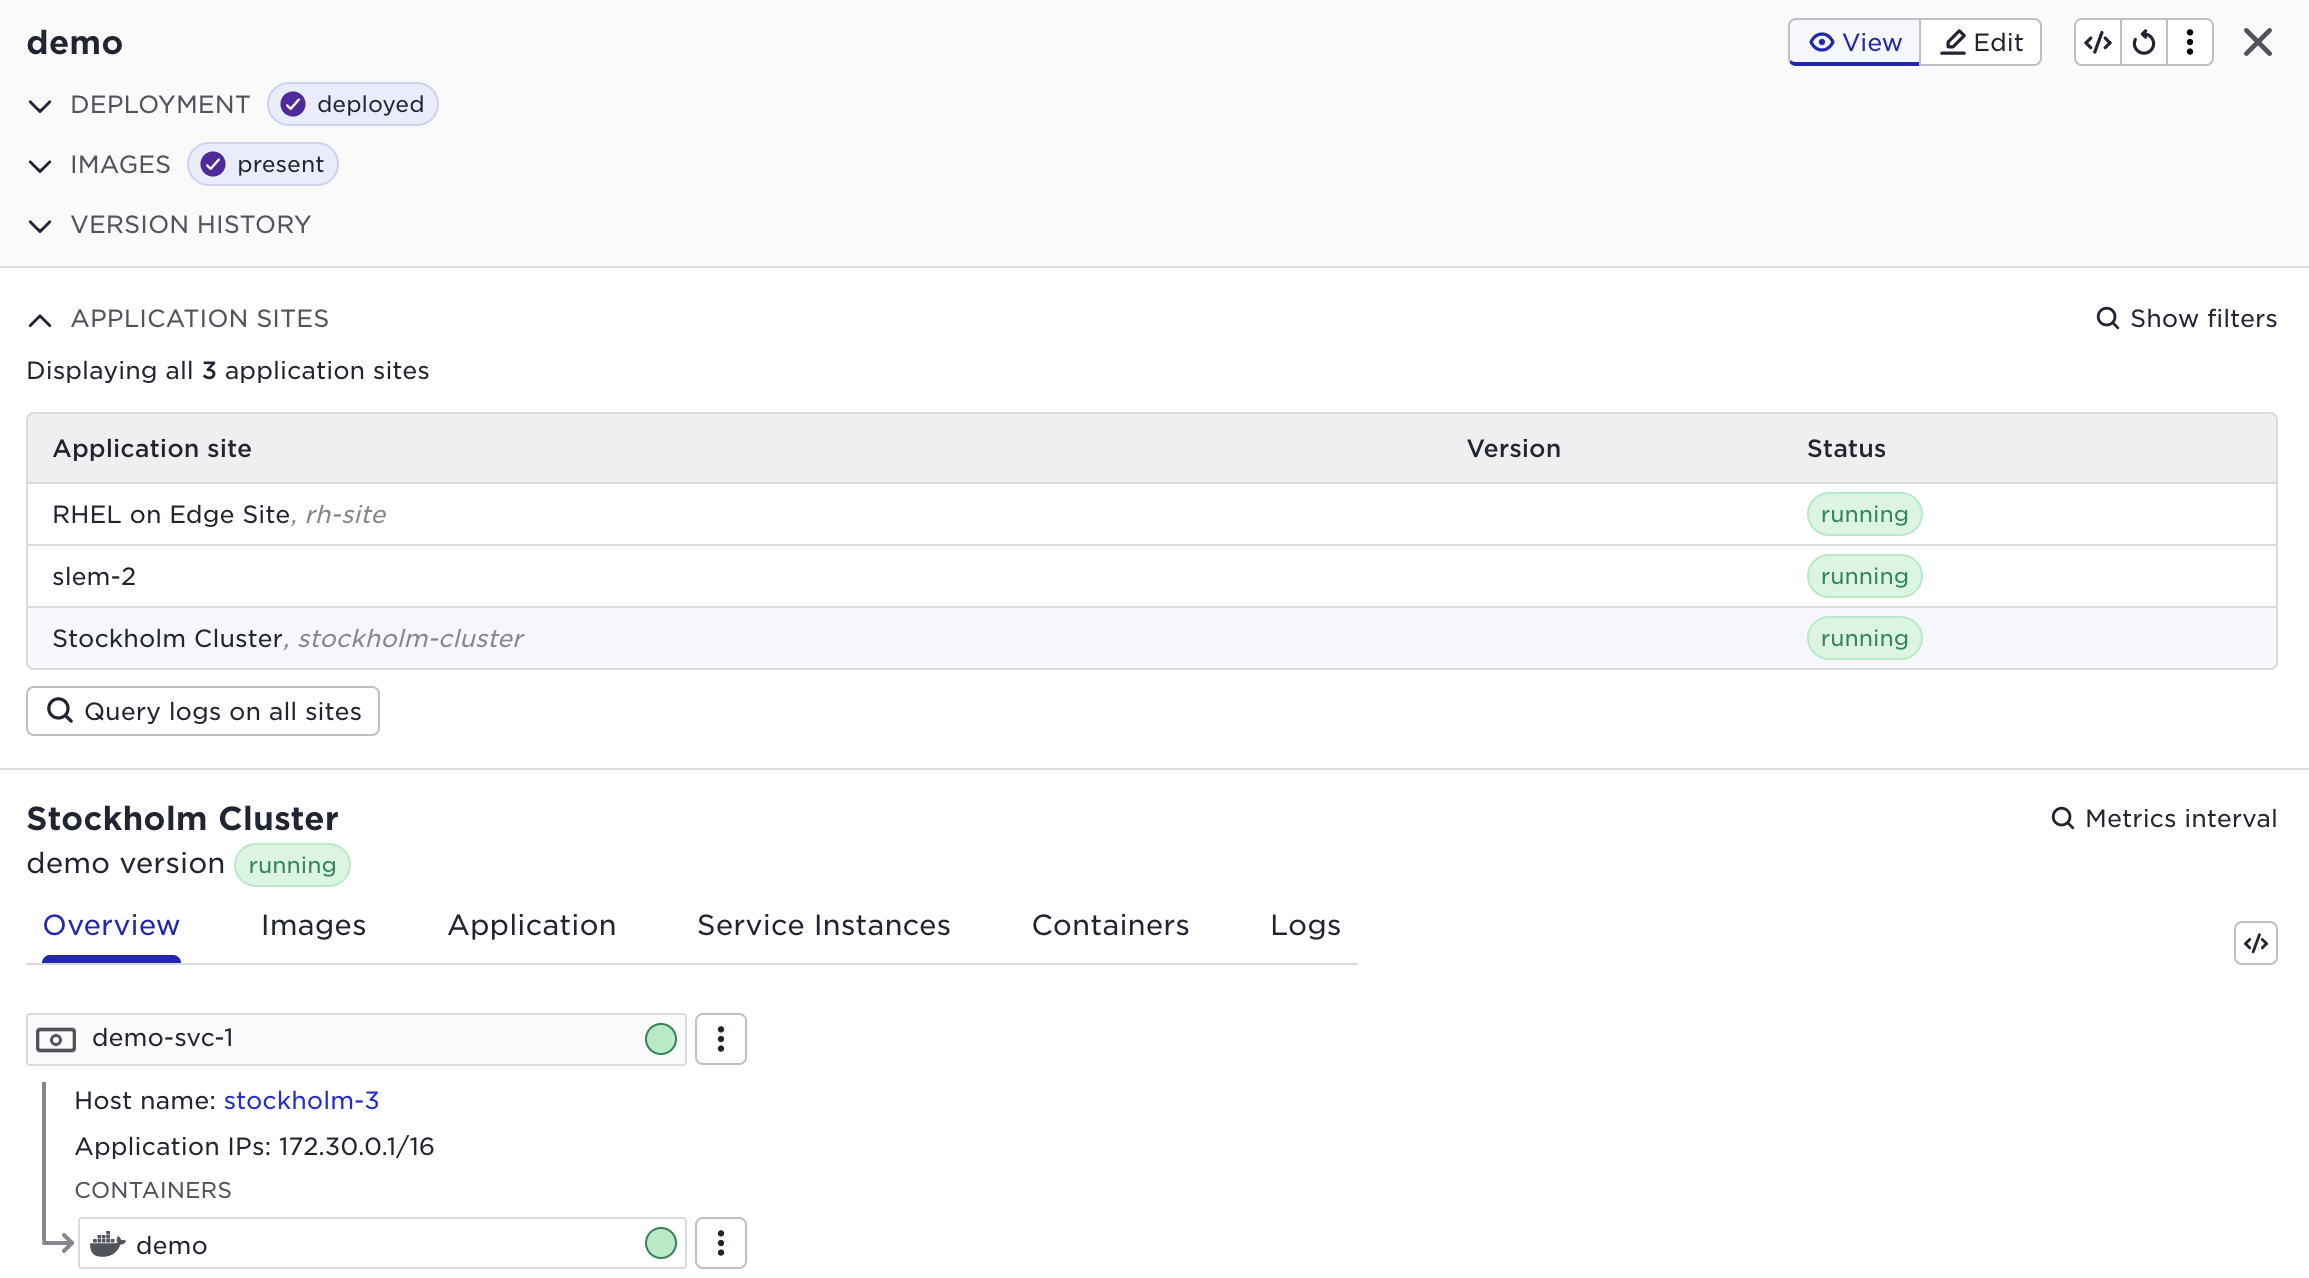
Once deployed, you should see something like this in Control Tower.